Flexible Paint for Craft / EVA Foam Tests
When it comes to Doggie Cosplay the most important component is a patient dog (like me!) then second most important component is flexibility of your costume. Us pups are wiggly and we bend in ways you wouldn’t believe. If you choose to work with craft/EVA foam one of the biggest problems you are going to have is painting the foam. A quick Google search will tell you when you paint craft foam you have to seal it first otherwise you will never get complete coverage. A lot of people figure after you seal it then you can just spray paint it for a nice even finish, which is great if your foam will never flex but the moment it does you will have cracks ruining all of your hard work (barking from experience!).
After learning this lesson the hard way we have took the time to put together a test of different formulations. If you have done your research you will find people mainly use two methods to seal foam, watered down PVA (white Elmer’s glue) or Mod Podge. For this test we only bothered with PVA because we read a lot of complaints about Mod Podge cracking.
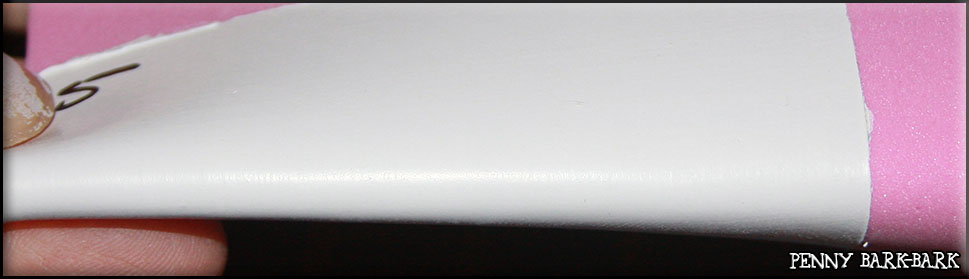
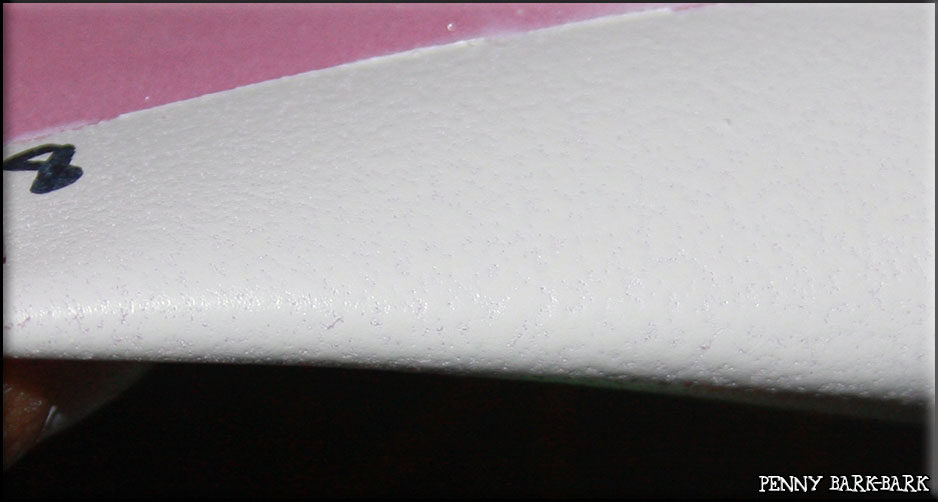
Here is our painted panel before any flex test along with the products we used.
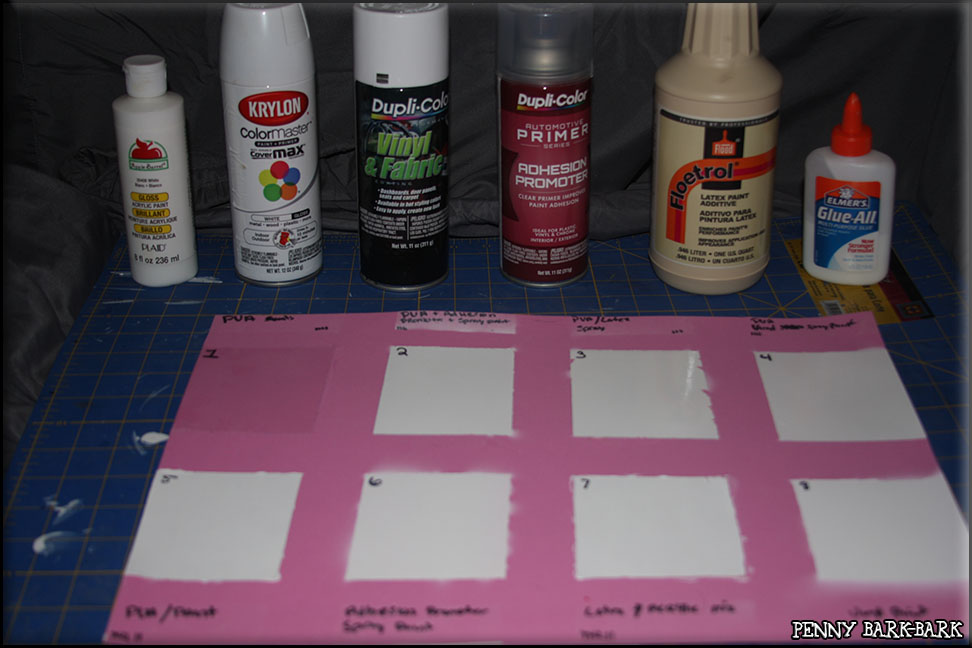
Description of each square
1. PVA glue watered down (5 layers).
2. PVA glue watered down (5 layers), followed by 3 layers of Adhesion Promoter, then 4 layers of Krylon spray paint.
3. Mix of PVA with Latex Additive (3 layers), followed by 4 layers of Krylon spray paint.
4. PVA glue watered down (5 layers), followed by 5 layers of Vinyl and Fabric spray paint.
5. PVA/Paint mix not watered down.
6. Adhesion Promoter (3 layers), followed by Krylon spray paint.
7. Acrylic paint with latex additive (7 layers).
8. Vinyl and Fabric spray paint (5 layers).
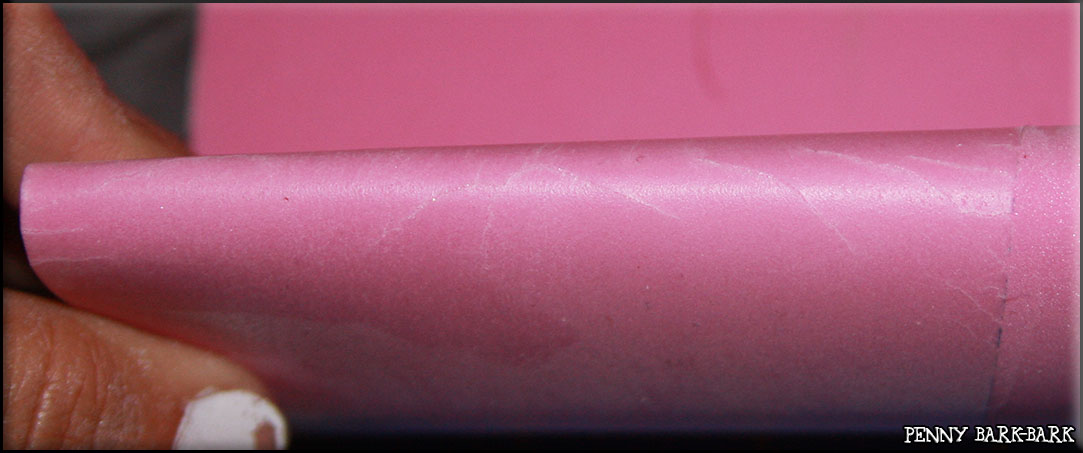
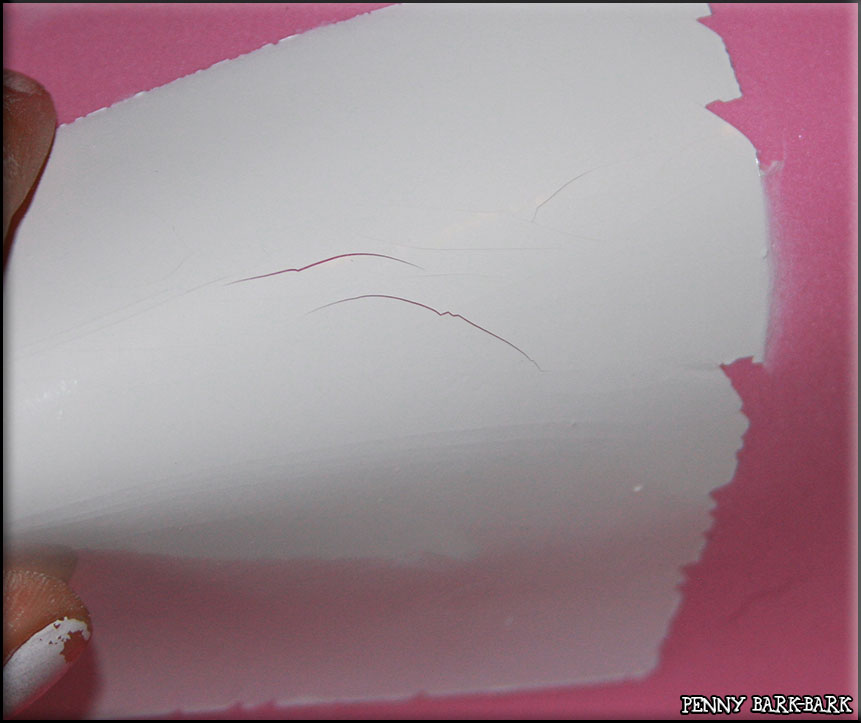
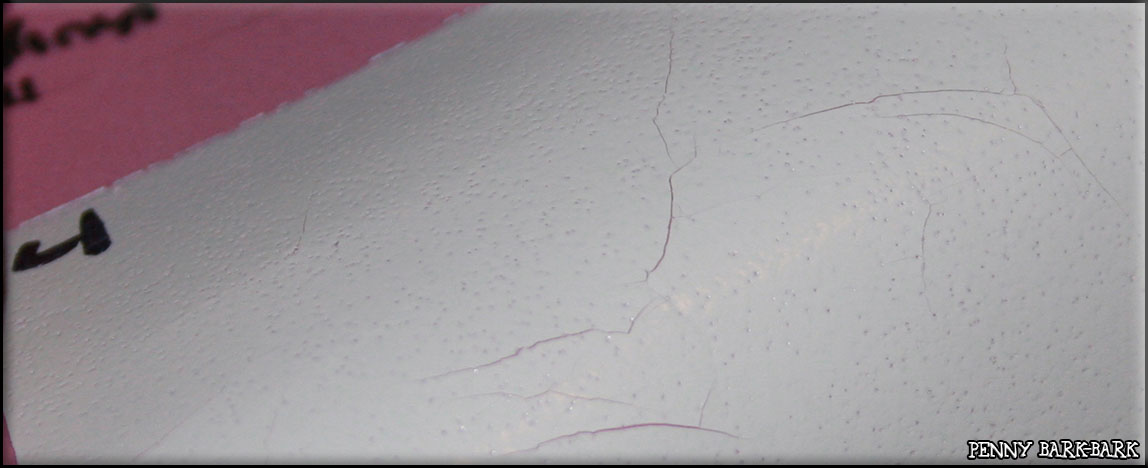
Results after folding each section in half then rolling this fold up and down. Then crumpling the whole thing.
1. PVA glue watered down (5 layers).
We did this just to see how PVA alone handled flexing. We did 5 layers based on the feel of the foam after each layer, we put on layers until we got a smooth finish that felt like the foam was sealed and ready for painting. After bending the foam in half, it cracked, not a good sign! After the crumple test it retained the crumple marks.
2. PVA glue watered down (5 layers), followed by 3 layers of Adhesion Promoter, then 4 layers of Krylon spray paint.

Big fail here, the fold test just cracked every which way. The finish on this was also very poor like it didn’t seal completely. A few more layers of PVA might have taken care of that issue, but with the cracking it’s not work another test.
Update 9/27/14, after painting the back side of the foam and testing that paint, #2 has become a crumbly mess.
3. Mix of PVA with Latex Additive (3 layers), followed by 4 layers of Krylon spray paint.
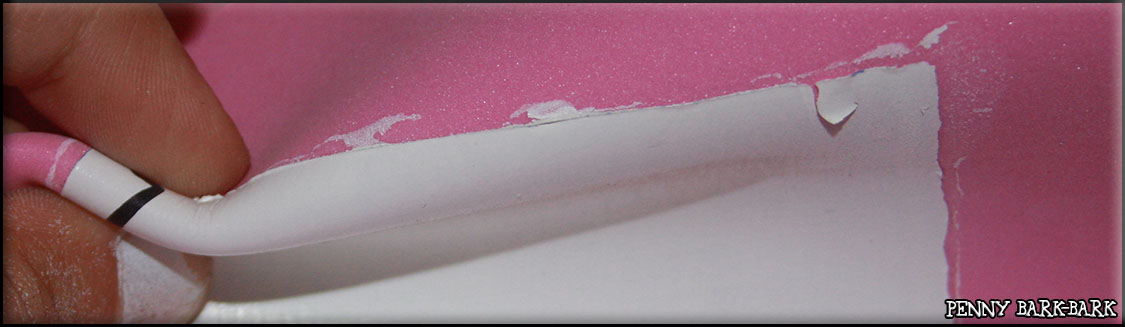
I have mixed feeling on this. The PVA with latex only took 3 layers and probably could have done with just two, however we didn’t bother feeling the finish until after the 3rd. After that PVA/latex the finish was VERY smooth and we knew this could make a beautiful finish. After the fold finish there were a few big cracks, but just in certain sections. Unlike the other sections that cracked folding different directions this only generated a few cracks. However the crumple test did leave some indents. I am wondering if the cracks are from areas that got a little less latex in the mix. I do think this formula will work for foam that flexes but not bends in half and just great for sealing foam that doesn’t bend. The only other down side I saw it when we peeled off the painters tape, if you look at the edges you can see some peeled. We might play more with this formula more.
4. PVA glue watered down (5 layers), followed by 5 layers of Vinyl and Fabric spray paint.
Fail again, lots of cracking and a pocked finish like it wasn’t seal. Enough said.
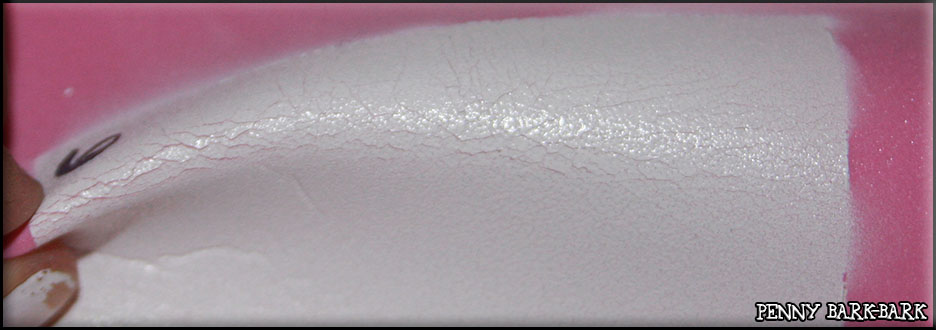
5. PVA/Paint mix not watered down.
This if our go-to, seal and color at the same time. No cracks at all, but the crumple test did leave some indents. The edges bled a little into the painters tape and a little peeled off with the tape. However right now this is still the go-to easy mix. I might try adding some latex to this mix to see if we get the perfect trio. If you use this mix and end up with crumple marks, it does fill in with a few more layers of the mix.
6. Adhesion Promoter (3 layers), followed by Krylon spray paint.
Speckled finish and lots of cracking (sounded like Rice Krispies during the tests), so fail.
7. Acrylic paint with latex additive (7 layers).
This is another good mix, but it has a couple downfalls. No cracking, no indents, however we had brush strokes and when we lifted the painters tape a big chunk of the paint wanted to peel off. This once again brings me back to what I said in #5 that I should try a mix of acrylic paint, latex, PVA and maybe even try watering it down a bit.
8. Vinyl and Fabric spray paint (5 layers).
No cracking, but shows indents after crumple. However this one is very speckled from not being sealed, however I do have to say it took color well. With the way it flexed we may also try to seal with PVA/Laxtex then using this as a top coat.
Update 9/27/14, after painting the back side of the foam and testing that paint, #8 like #2 has become a crumbly mess.
Conclusion
PVA is a must to allow the foam to take color. The best mix was #5, followed by #7 If possible also use a foam that is close to your final color just in case you do get cracking. with the best sealing coat being the PVA/Latex mix.
If anyone has any other mixes, let me know and I will see if I can test them. When I get around to testing a PVA/Latex/Acrylic mix and PVA/Latex with Vinyl/Fabric top coat samples I will go ahead and post an update.
Update 9/27/14 I did some more tests on the backside of this foam, here are the results.
Flexible Paint for Craft / EVA Foam Tests – Part 2