Make Your Own Twine Hobbles
Warning!! hobbles should only be used by people experienced with them. Without proper training your horse can get hurt!!
Preparations: Cut 6 strands of twine cut to equal length. Cut twine from
a large 3 twine bale as close to knot as possible, then cut off knot. Make sure all
are the same length. They can be different colors, but once you see the pattern you can decide what you want to do.
Steps
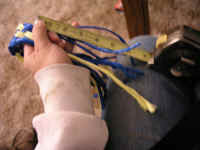
1. Fold twine in half to find the center. Then place a piece of tape approx 3 inches off to one side.
Click on picture to enlarge
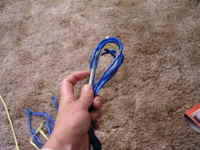
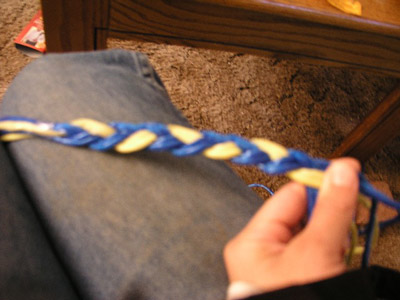
2. Do a standard 3 strand braid (pair the strands of twine) towards the center and go about 3 inches past. This is going to be your loop.
Click on picture to enlarge

3. Place tape on both ends of the braid to keep the braid intact (to help with the next step)
Click on picture to enlarge
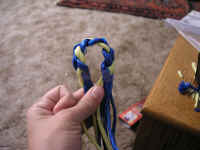
4. This is the hard part.. you have to weave the 6 strands together (keep them paired)
Click on picture to enlarge
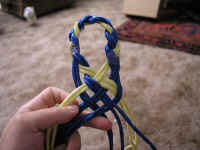
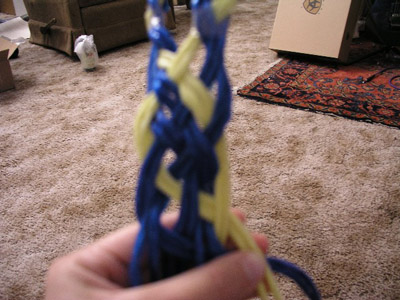
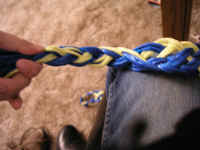
5. Start weaving them together, by taking the far left and doing an under 1 strand, over then next, until it is to the far right. (You may have to do over-under depending on how you weaved them together). Then continue taking the left strand and weaving it to the right. If you like working right to left you can do that too. Now don't pull it tight, you want it to be fairly loose so it flexes.
Click on picture to enlarge
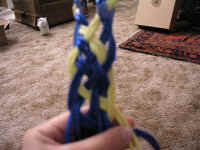
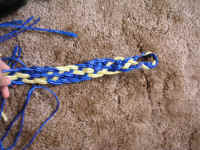
6. Shows how the pattern looks.
Click on picture to enlarge
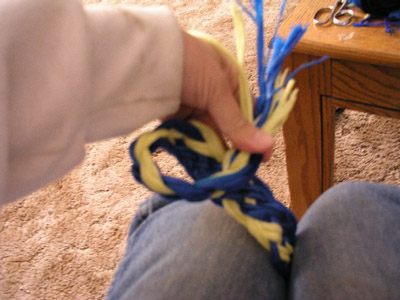
7. Another shot, but it shows how most of the time it will start to twist but that is ok.
Click on picture to enlarge
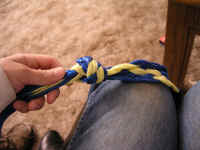
8. About 6 inches from the bottom, stop weaving.
Click on picture to enlarge
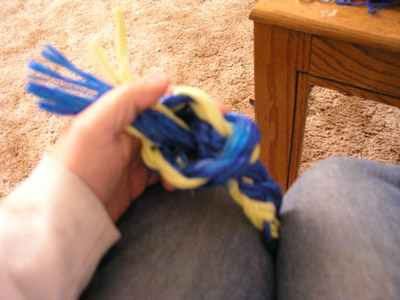
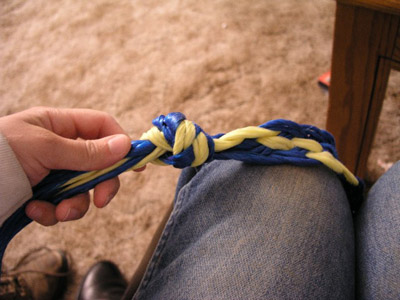
9. Gather the strands and start doing the standard 3 strand knot.
Click on picture to enlarge
10-12. Tie a knot on the end, the knot is made up of that 3 strand braid you made. Then cut off excess twine, and I like to heat up the knot to help it stay and to keep the end of the twine from unraveling.
Click on picture to enlarge


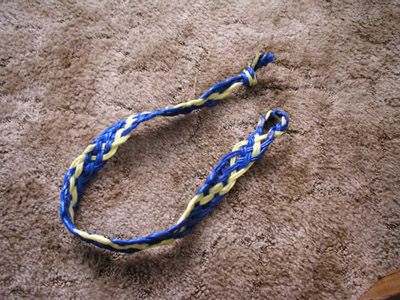
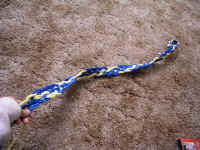
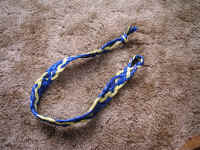
13. Finished product.
Click on picture to enlarge
TO APPLY TO HORSE
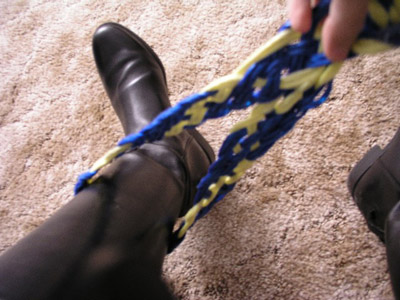
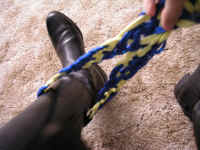
14. Fold in half around the horse (or your own) leg.
Click on picture to enlarge
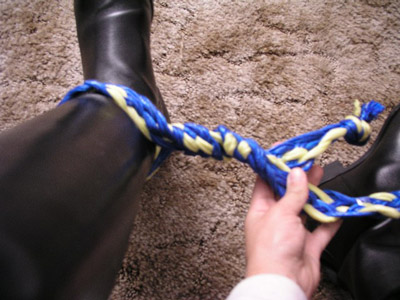
15. Twist the hobbles around each other until the parts that are left just fit around the horse's (or your own) other leg.
Click on picture to enlarge
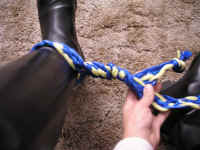
16. Bring the end around until they meet, the should be snug (but they will loosen when the horse moves) so they need to be snug enough not to slip out of the knot.
Click on picture to enlarge

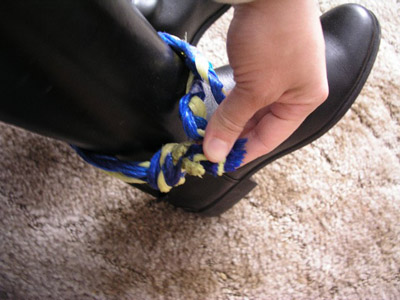
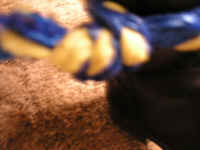
17. But the knot though the loop, if it is snug enough then it will stay in place.
Click on picture to enlarge
The more you use these hobbles the softer they will get, ,you can even wash them to make them softer.. since they do seem stiff at first, especially if you braid them tight